Installing a Reolink camera: complete step-by-step guide
Installing a Reolink camera is accessible to everyone. Depending on the model, allow 10 to 30 minutes for the first installation. This guide covers the three most common installation types.
REOLINK STORE
REOLINK CAMERAS ARGUS
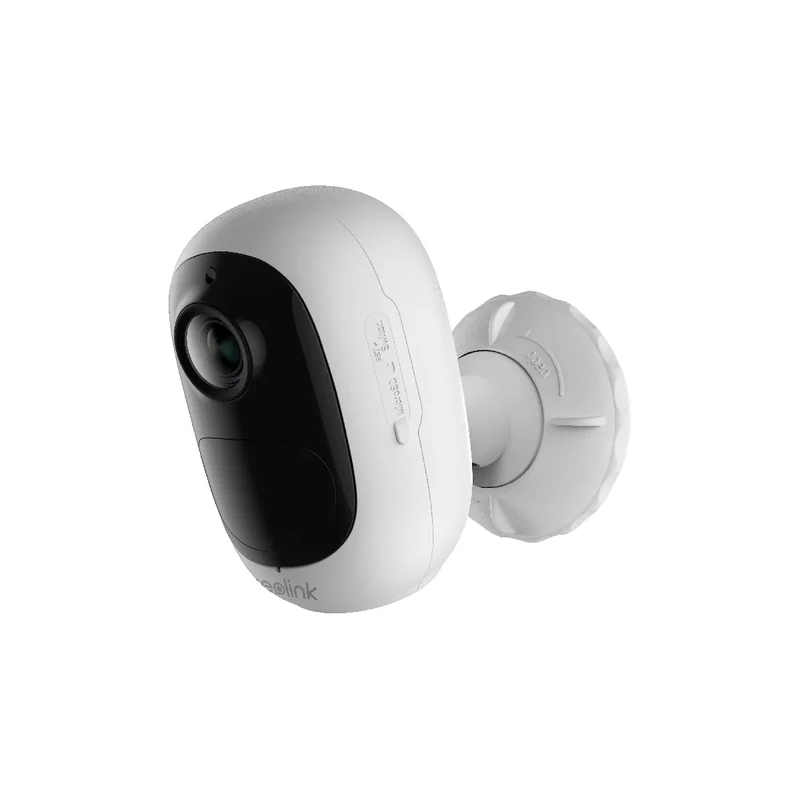
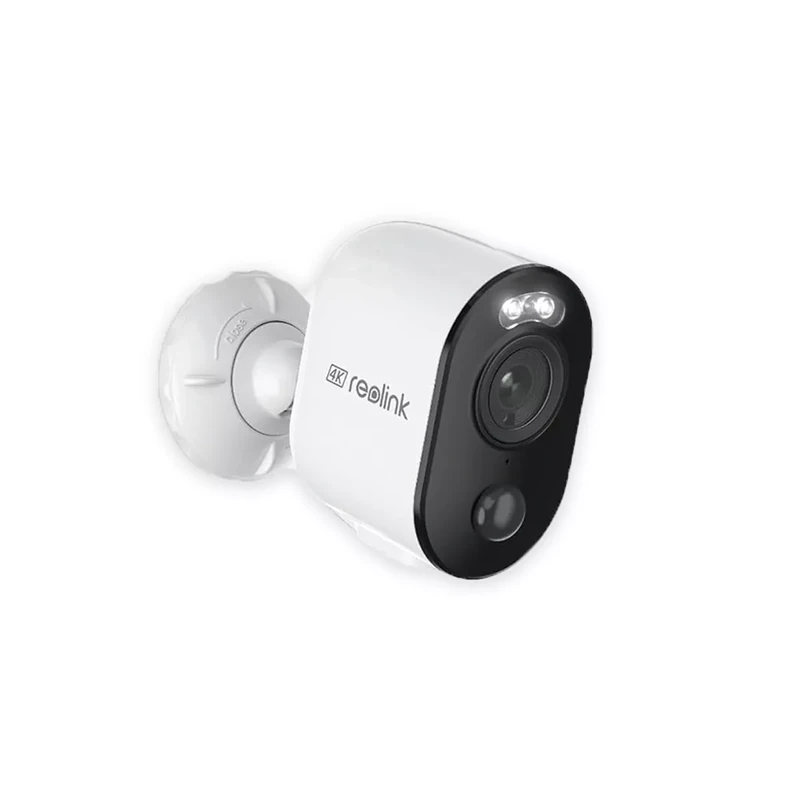
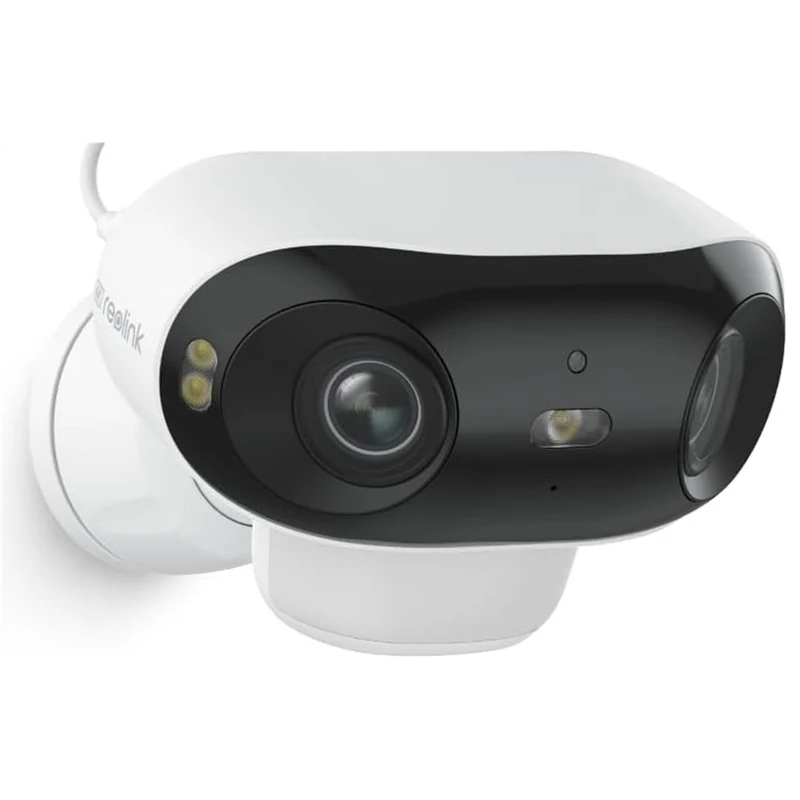
REOLINK CAMERAS DUO
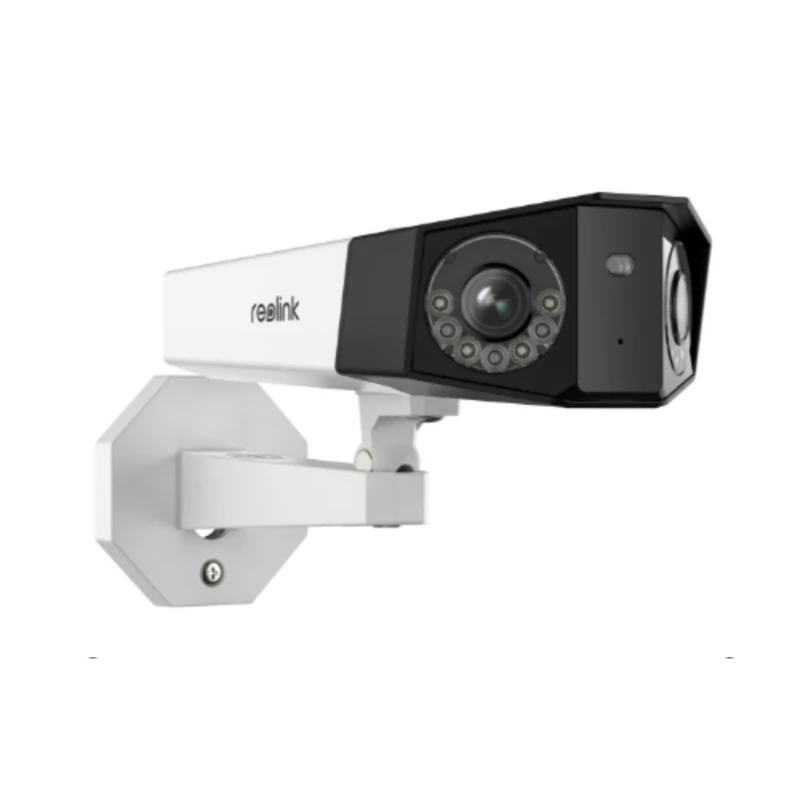
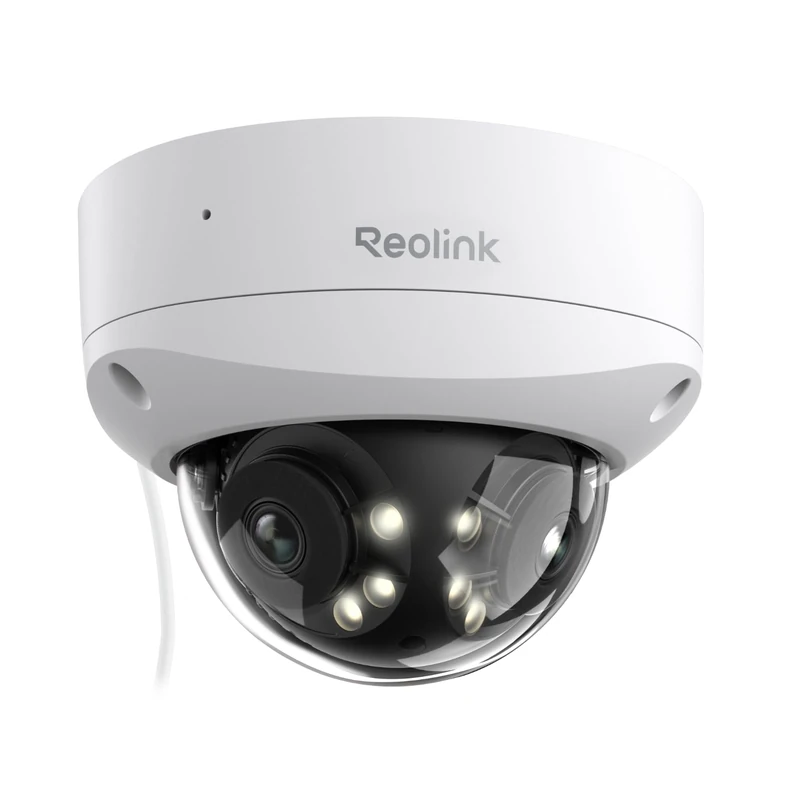
REOLINK CAMERAS E1
REOLINK CAMERAS GO
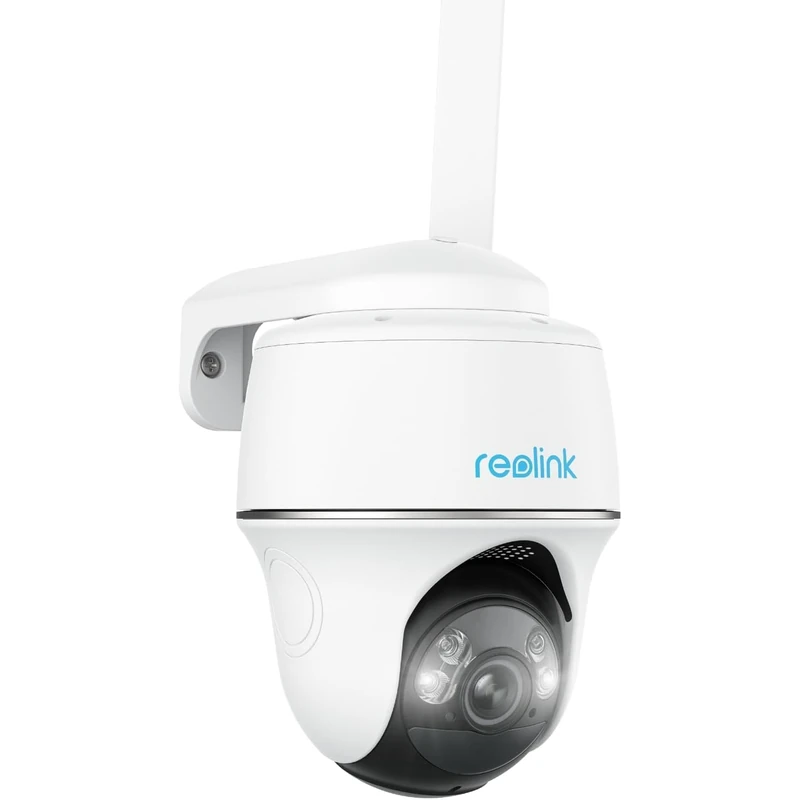
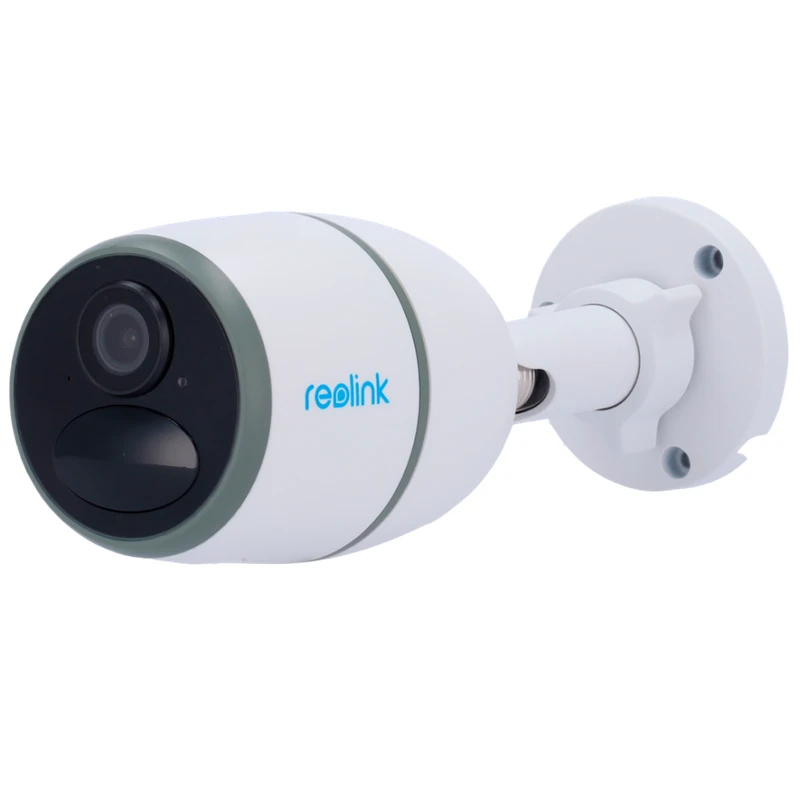
REOLINK CAMERAS RLC
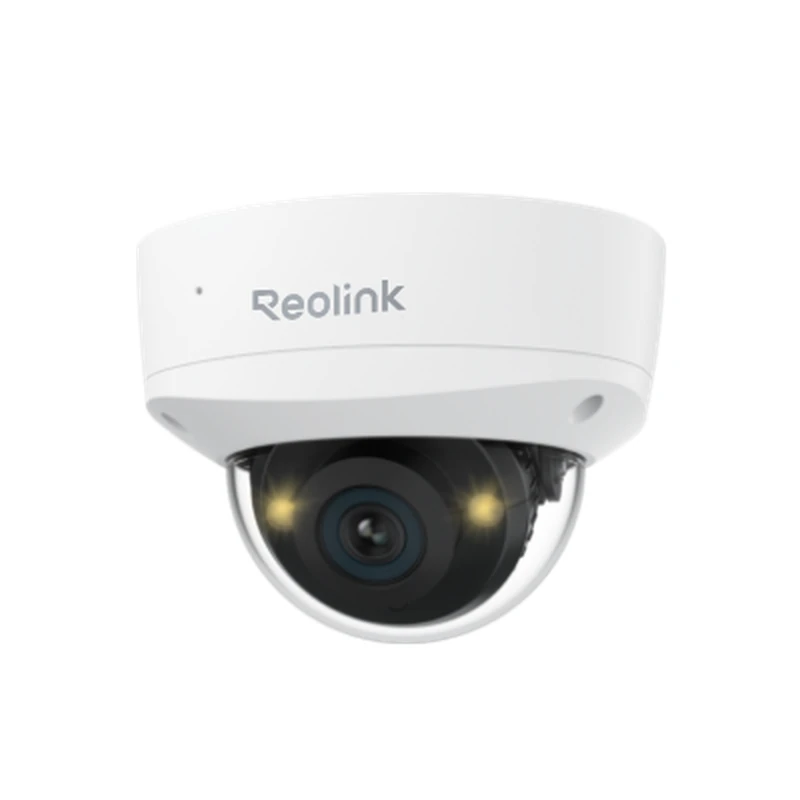
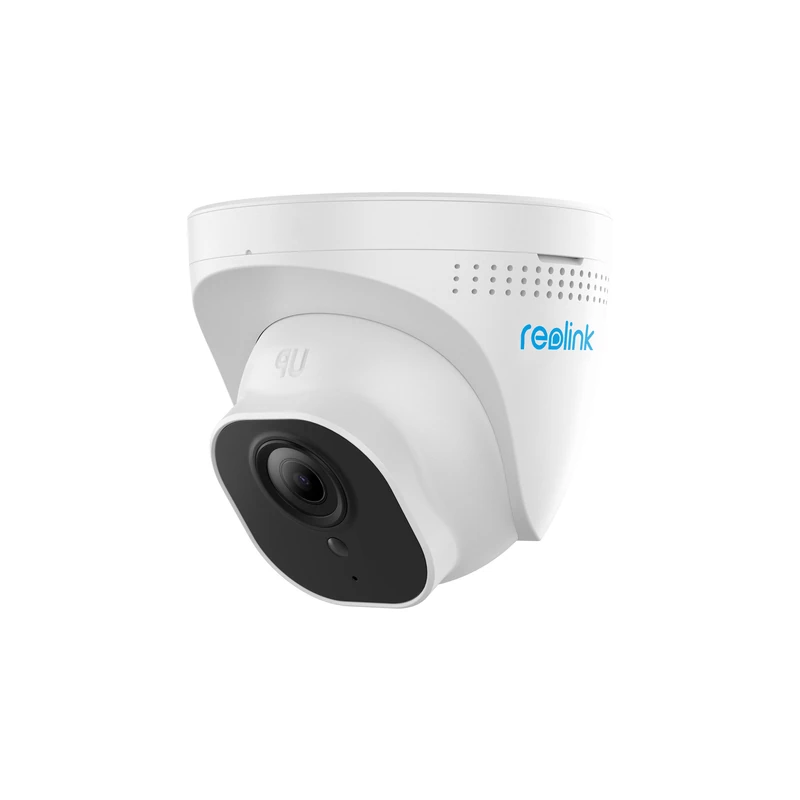
REOLINK CAMERAS RLC
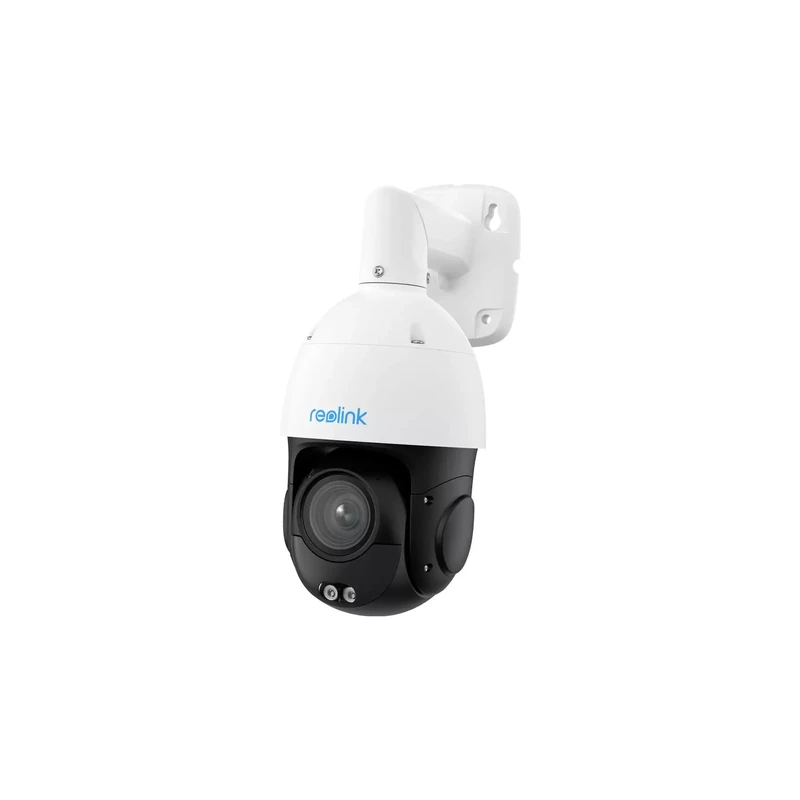
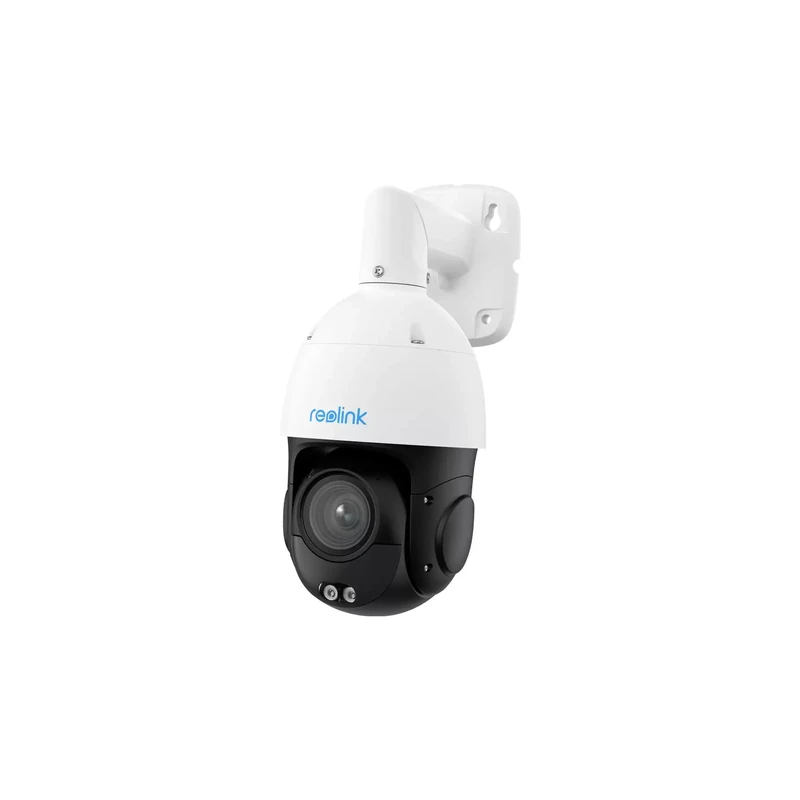
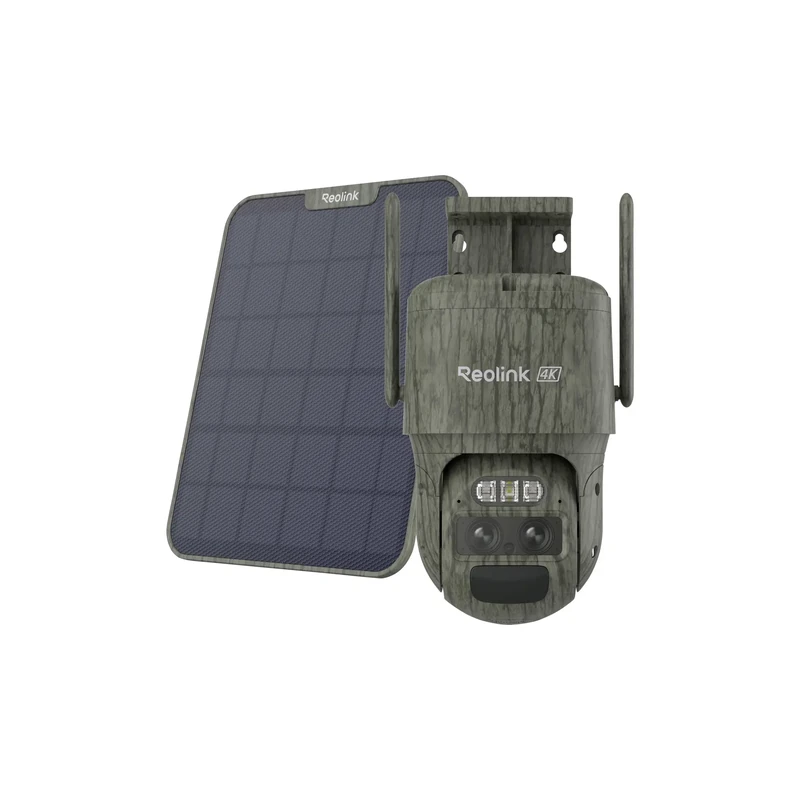
REOLINK CAMERAS TRACKMIX
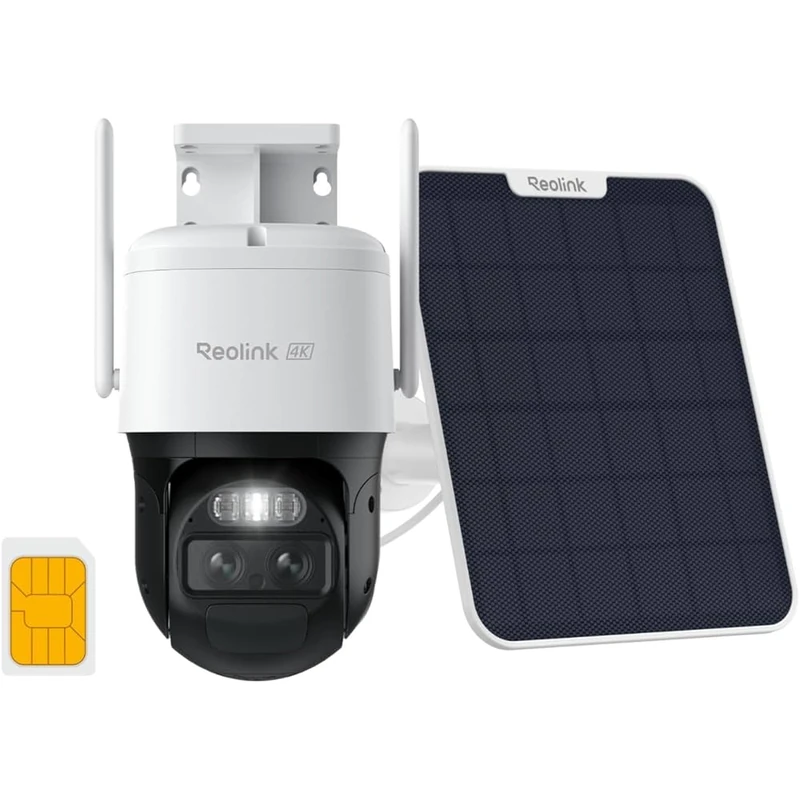
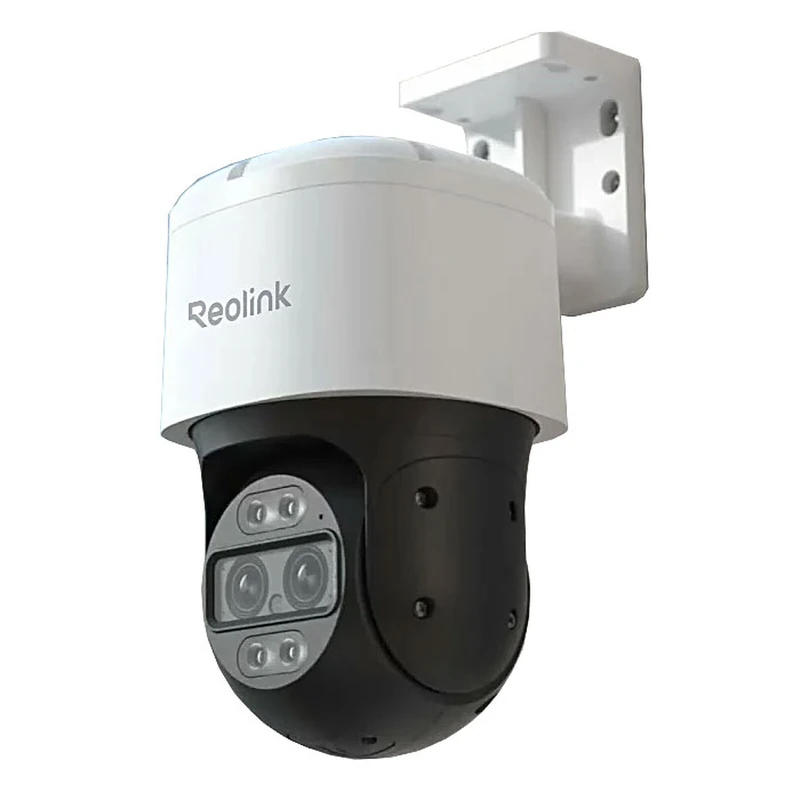
Prerequisites before you start
1. Download the Reolink app (iOS or Android) — free
2. Create a Reolink account (optional but recommended for remote access)
3. Prepare your WiFi network: note your SSID (name) and 2.4 GHz WiFi password
4. Check compatibility: 5 GHz cameras only work with a dual-band router
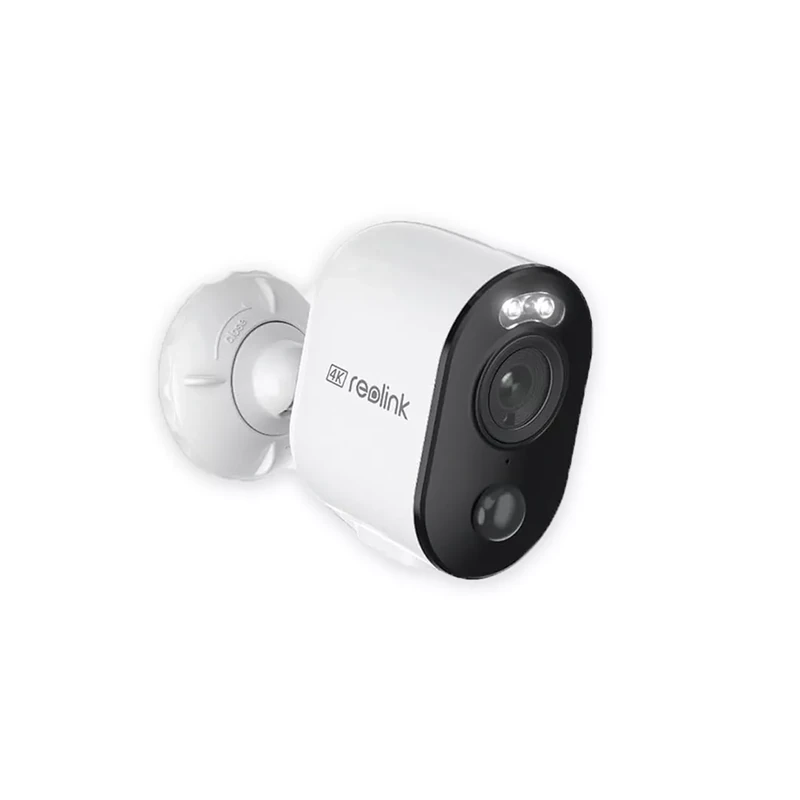
Powered via mains adapter or USB, WiFi connection via the Reolink app in 3 minutes — no network cable required. The Argus 3 Pro and RLC-823A are the two most installed WiFi models by homeowners.
Installing a WiFi camera (e.g. RLC-810A, Argus 3 Pro)
Step 1: Power the camera
- Camera with cable: plug in the supplied power adapter
- Battery camera (Argus): check that the battery is charged (green LED)
- Press + to add a camera
- Select “Add device”
- Scan the QR code on the back of the camera
- Select your 2.4 GHz WiFi network
- Enter your WiFi password
- Wait for confirmation (30–60 seconds)
- Enable motion detection
- Configure alert zones (areas to monitor)
- Enable push notifications
- Mount the camera at the chosen location (screws provided)
- Adjust the viewing angle in the app
- Test by walking in front of the camera
- PoE switch (not included) or Reolink PoE NVR
- Cat5e or Cat6 network cable
- Connect the NVR to a screen via HDMI
- Plug the NVR’s network cable (RJ45) into your router
- Power the NVR
- Plug each camera into a PoE port on the NVR with the supplied network cable
- Cameras appear automatically on the NVR screen
- Set the date and time
- Format the hard drive (if supplied)
- Configure recording zones and alarm
Step 2: Open the Reolink app
Step 3: Connect to WiFi
Step 4: Configure alerts
Step 5: Position the camera
Installing a PoE camera (e.g. RLC-820A)
PoE prerequisites
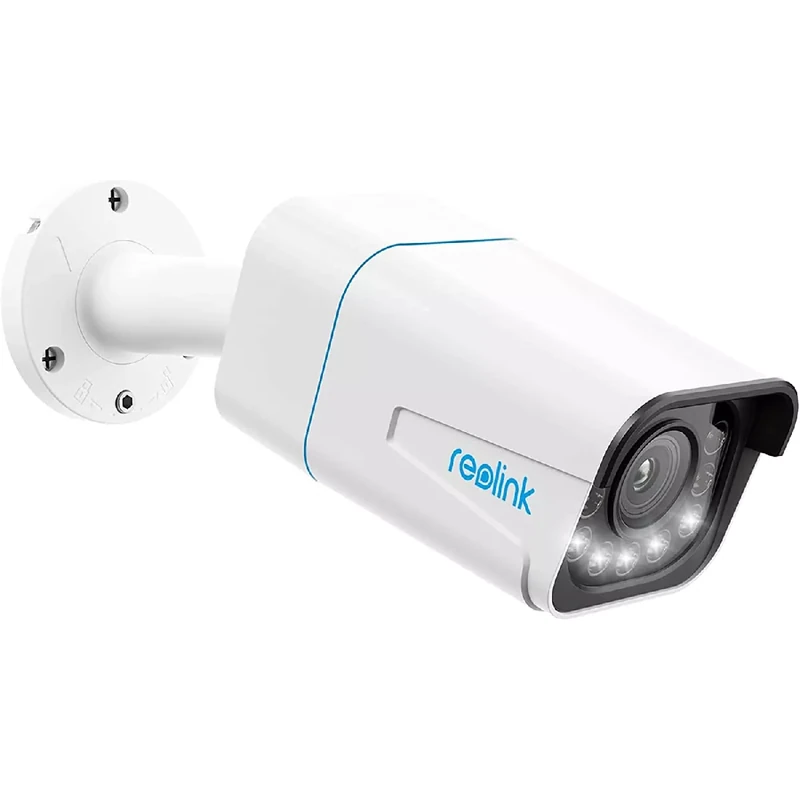
The NVR kit connects up to 8 or 16 PoE cameras to a single local recorder with built-in hard drive. The entire system is managed from the Reolink app — no subscription, no cloud.
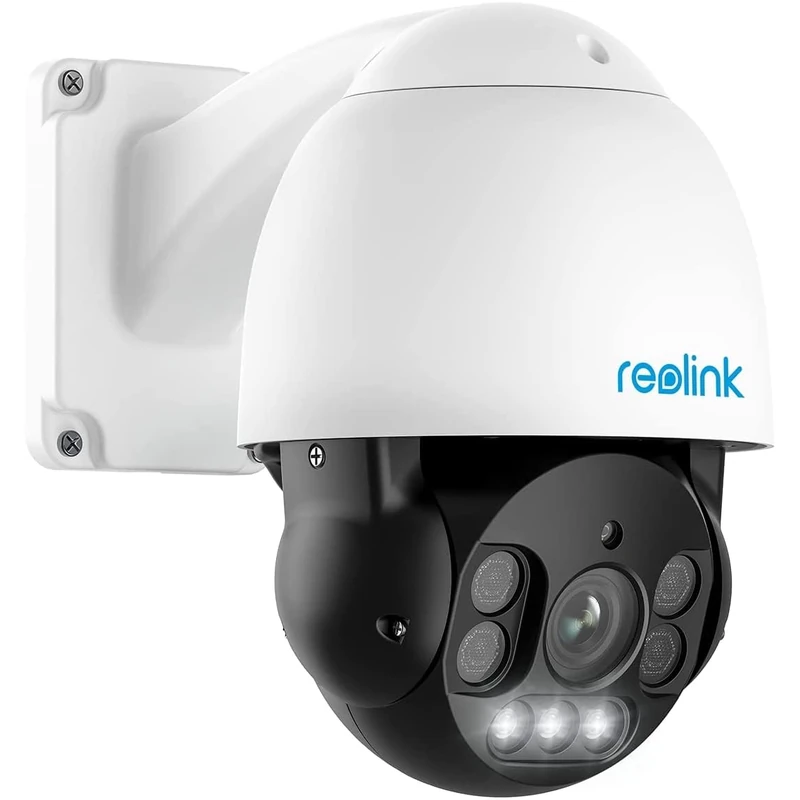
A single RJ45 cable carries both power and 4K video to the PoE switch or NVR. Ideal for permanent installations — no outages, continuous 24/7 recording.
Step 1: Run the network cable
Run a network cable from the switch/NVR to the camera location. Maximum 100 metres.
Step 2: Connect the cable
Plug the network cable into the camera (waterproof RJ45 connector included for outdoor use).
Step 3: Add to the app
The camera appears automatically on the local network. Add it via the Reolink app or the NVR web interface.
Installing an NVR kit (e.g. RLK8-810B)
Step 1: Connect the NVR
Step 2: Connect the cameras
Step 3: Configure the NVR
Frequently asked questions
My camera won’t connect to WiFi — what should I do?
Check that you are using 2.4 GHz WiFi (not 5 GHz). Make sure the camera is close to the router during setup. Restart the camera and relaunch the setup wizard.
Can I access my camera from abroad?
Yes, via the Reolink app with an Internet connection. Reolink P2P configuration does not require port forwarding on your router.
How do I update my Reolink camera firmware?
In the Reolink app, go to camera settings → “Device info” → “Check for updates”. Updates are done automatically if you enable automatic updates.
See also
Step-by-Step Guide to Installing a Reolink Camera
Installing a Reolink camera starts with choosing the right location: aim for a height of 2.5 to 3.5 metres for an optimal field of view and protection against tampering. Avoid back-lighting (bright windows or direct sun facing the lens), which degrades detection accuracy. Once the position is confirmed, mark the mounting bracket holes, drill and plug according to the surface type (concrete, brick, plaster, timber). Fix the bracket, route or secure the power cable (or insert the battery for wireless models), then attach the camera to the bracket and angle it towards the area to be monitored.
Software setup is done via the Reolink app (iOS or Android): add the camera by scanning the QR code on the label or entering its UID. The setup wizard guides you through WiFi pairing, detection zone configuration, recording schedules and push notifications. The first firmware update installs automatically on the first connected boot — wait a few minutes before starting detailed configuration.
Troubleshooting Common Reolink Installation Issues
The most common issue is weak WiFi signal: if the camera disconnects frequently or the stream is choppy, check signal strength at the camera location using the Reolink app indicator. A reading below -70 dBm requires a WiFi repeater or, where possible, replacement with a PoE wired model. The second most common issue is excessive false alerts: configure detection zones to exclude high-traffic public areas (street, pavement), set sensitivity to “medium” and enable AI detection if your model supports it.
If night vision appears weak, check that the lens is not covered with condensation or cobwebs, which can interfere with IR LEDs. For PoE cameras, a poor-quality or excessively long cable can cause instability: replace with Cat6 and ensure each RJ45 connector is properly crimped. If issues persist, a factory reset (hold the Reset button for 5 seconds) clears the configuration and allows a fresh start.
Frequently Asked Questions — Reolink Installation
Do I need an electrician to install a Reolink PoE camera?
PoE installation does not require an electrician if you use a Reolink NVR with integrated PoE. You only need to route an Ethernet cable — a task accessible to a competent DIYer, especially in new builds with pre-installed conduit.
At what height should I mount an outdoor security camera?
Between 2.5 and 3.5 metres is the optimal range: high enough to prevent obstruction and tampering, but low enough for effective facial detection at the entrance.
Can a Reolink camera be installed under an eave or overhang?
Yes, and it is recommended for wired models: the overhang protects the camera from direct rain, simplifies cable routing and reduces solar glare. Ensure the chosen mount allows downward angling.
How do I configure alerts to only receive important detections?
In the Reolink app, define a detection zone excluding irrelevant areas, enable Smart Detection (people/vehicles only) and set sensitivity to 3–5 out of 10 to reduce false alerts from wind or insects.
Is it possible to install a Reolink camera without drilling walls?
Yes, with magnetically mounted models (Argus Track, some E1 models) or universal clamp mounts. For timber cladding or wooden surfaces, surface-mounted screws are also available without drilling through load-bearing walls.